Wanna Have A DIY Gypsy Wagon? (64 pics)
I spent a month out of my summer ignoring my kids and building a gypsy wagon. Wanted it to be dry, sleep 5 people, and be light enough to be pulled by our can. Basically a glorified tent for camping that can double as a playhouse in my backyard for the aforementioned much-loved children that had to eat take-out for a month. Yes I'm a woman. Yes this is my project. No my husband didn't help me (outside of lots of moral support, working so I could pay for it, and holding a few boards).
1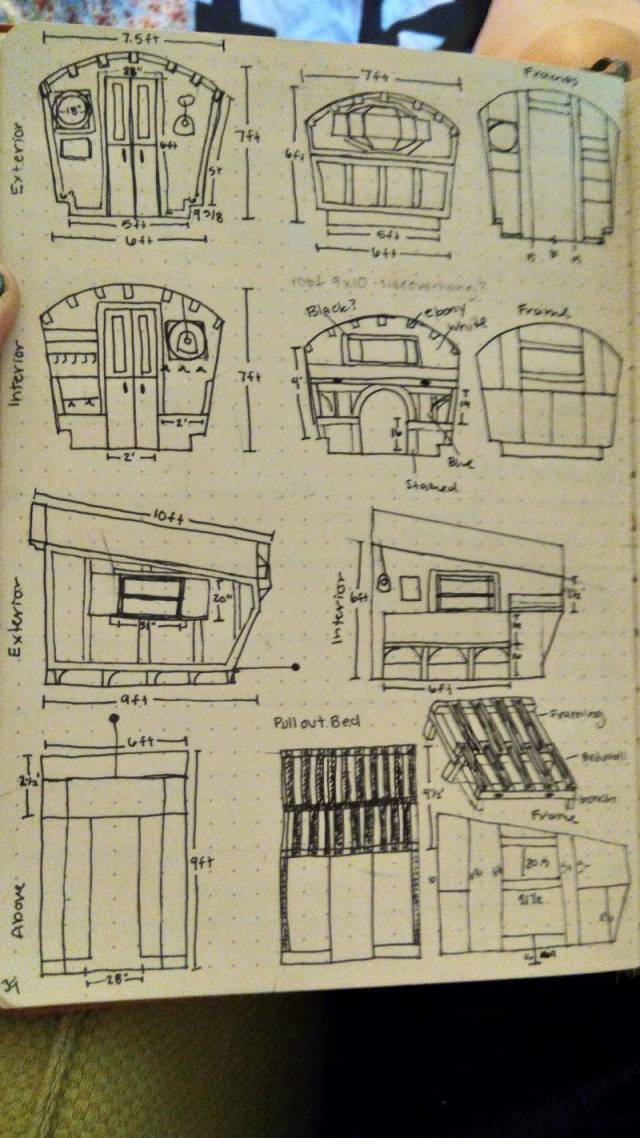
My plans! Spent the cold winter dreaming this up and trying to get it all straight in my head.
2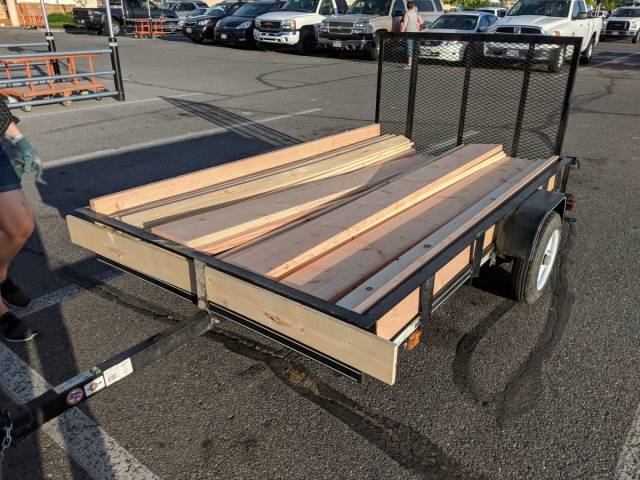
Bought a 4×8 utility trailer from Lowe's. Filled it up with a bunch of wood from Home Depot. $1500 so far. Spoiler alert, total is around $2000.
3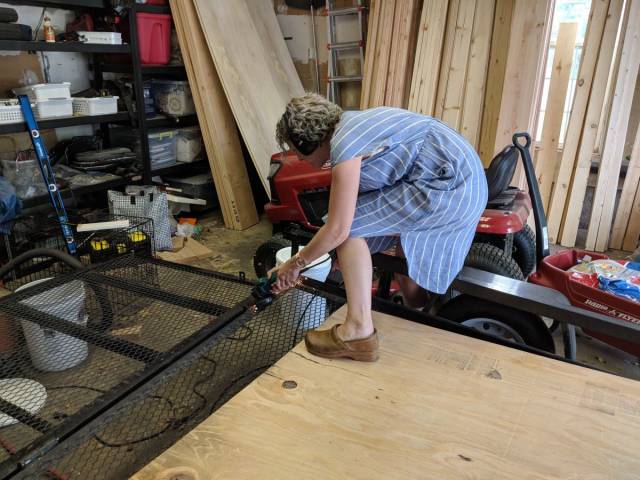
Borrowed a metal grinder from my father in law to take off the ramp. I've never done anything with metal. Sparks and shit. Didn't like it.
4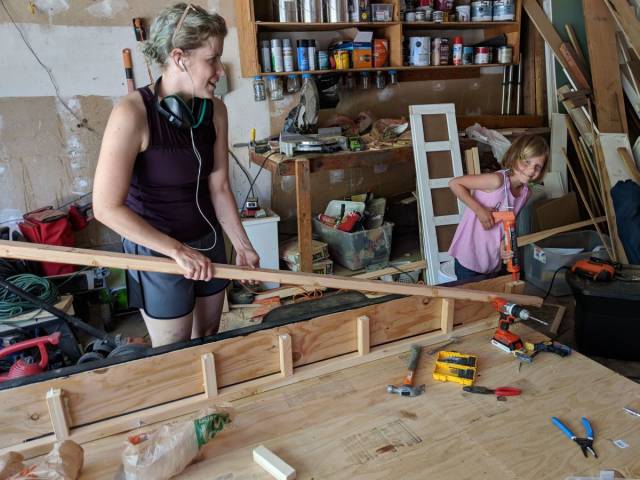
Laid down plywood on the bottom and sides. Used 2x2s for the framing. My cute middle child was definitely the most helpful, gluing and putting screws in the pilot holes.
5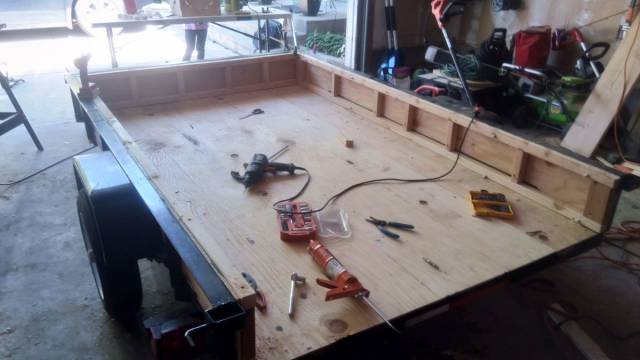
The base is ready.
6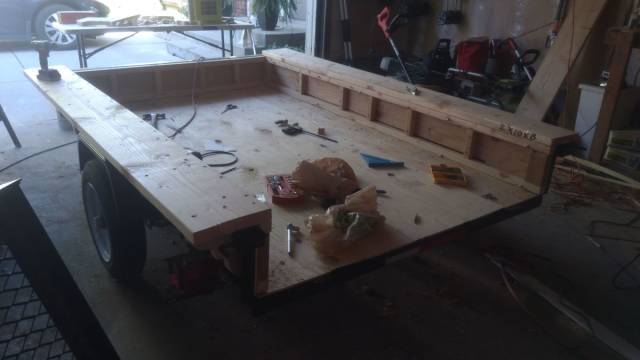
Built out ledges with 2x10s.
7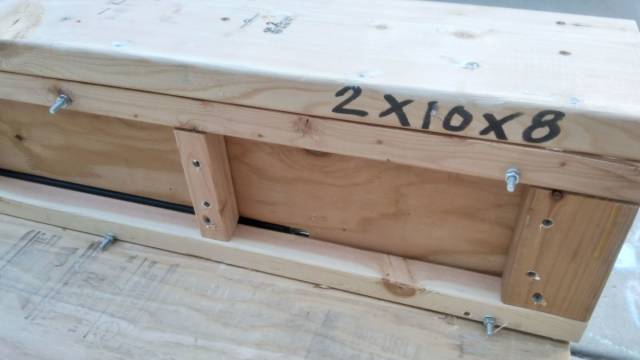
I was really anxious about this all being super strong. I used glue, screws, and nuts and bolts.
8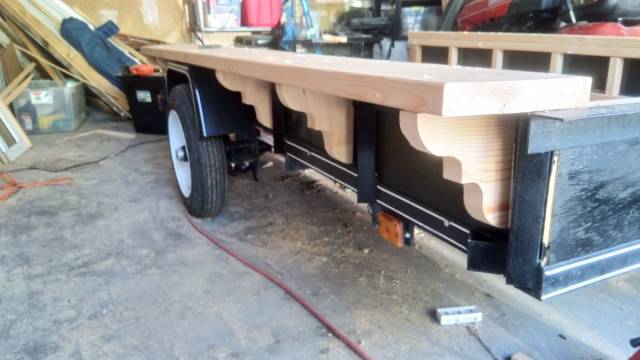
Bought a band saw to cut out these decorative brackets for support.
9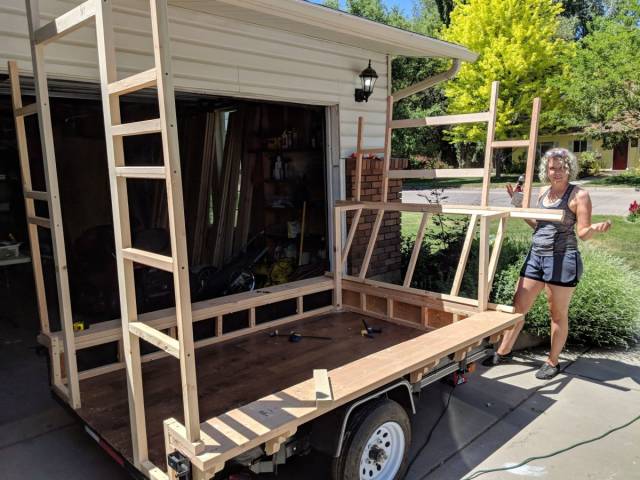
Up goes the frame! 2x2s. I also used a self adhesive laminate floor that goes into the plywood like stickers. Perfect for this application.
10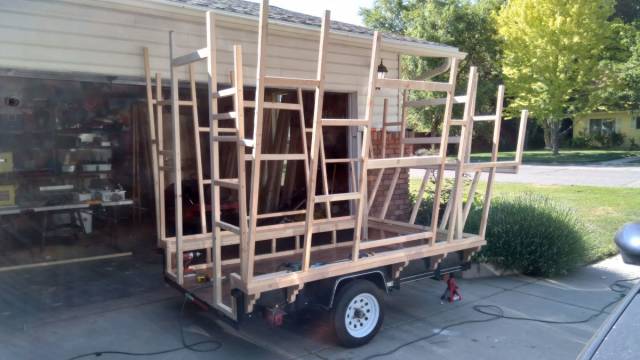
I miscalculated and built up the sides too tall. Aww well. I knew I'd make mistakes. Trimmed it down. My neighbors started driving by slowly and wondering what the heck I was up to.
11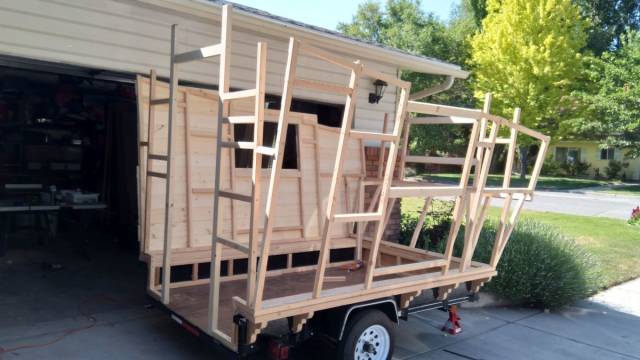
Bought a bunch of tongue in groove pine boards for the walls. Glued and screwed the heck out of it. Had to keep driving back to the store for more screws. That's the worst part.
12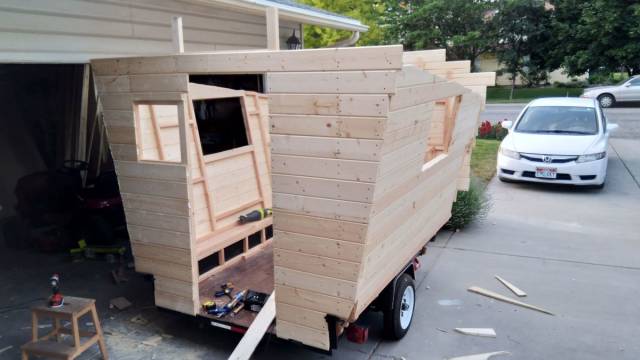
Up go the walls.
13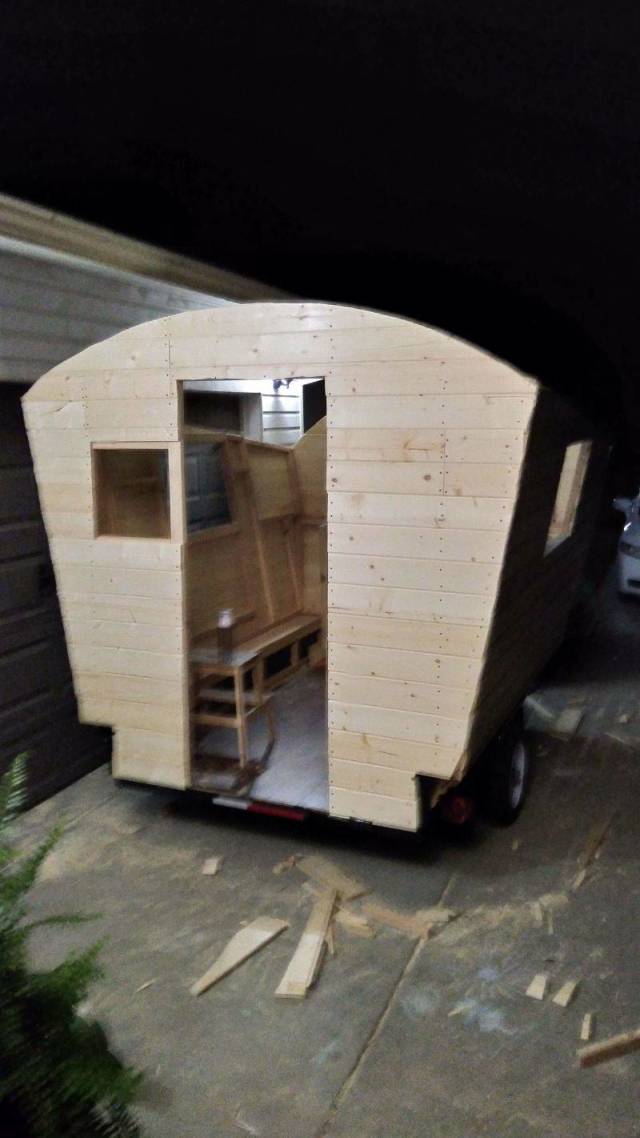
Finished the walls and cut a curved top using string mounted to the bottom to trace it out and a reciprocating saw. Late at night and exhausted. Texted this to my sister for validation.
14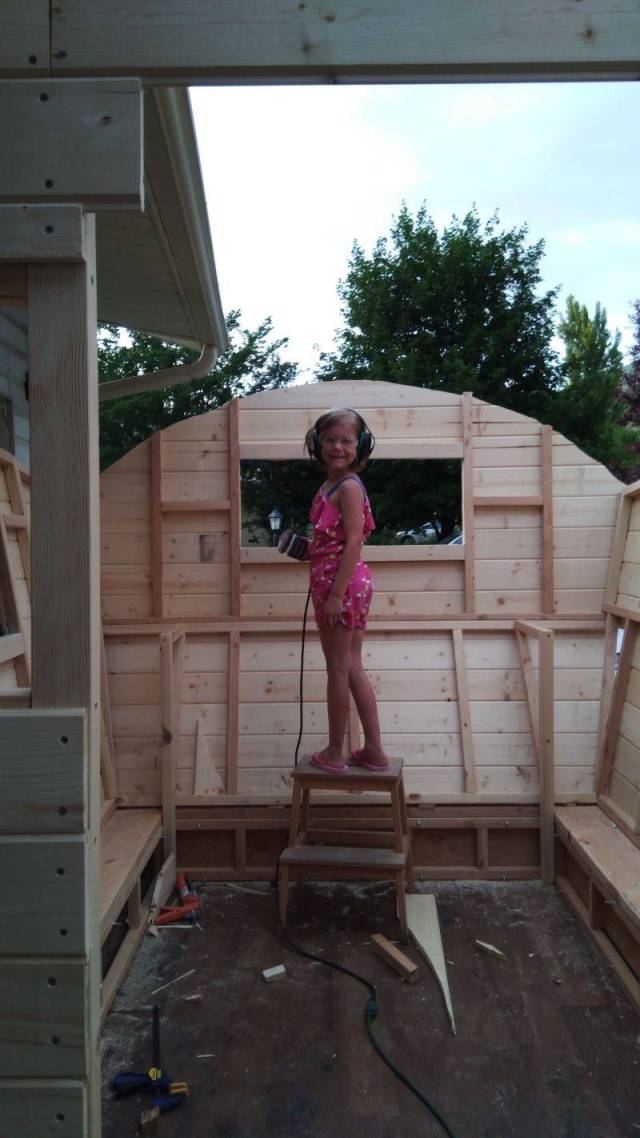
My cute middle child again happily helping. Sanding my wonky cutting with the saw. Probably should have used a jig saw instead of a reciprocating saw for all those.
15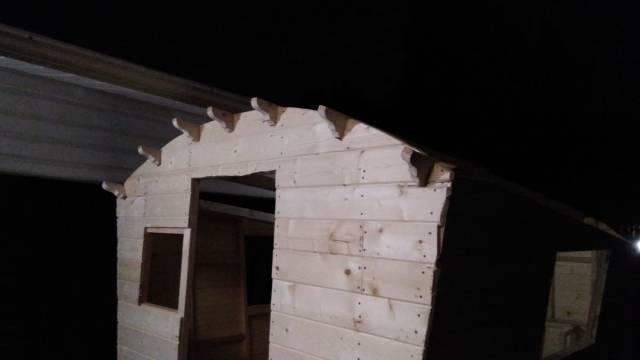
Cut notches in the walls and set in 2×4 beams. Cut decorative uhhh decorations with the band saw which is my new favorite tool.
16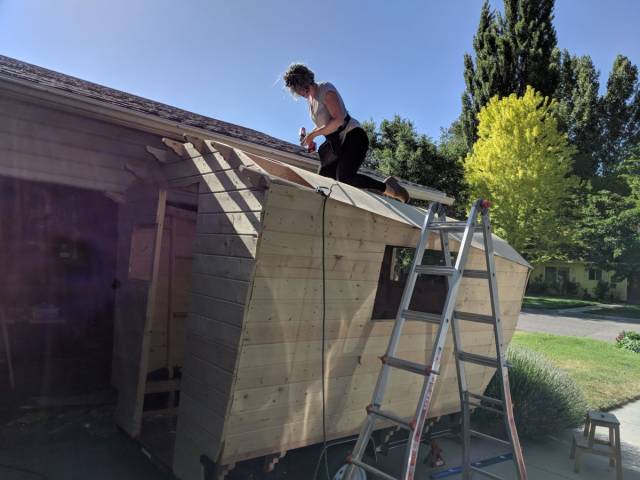
Used very thin birch plywood to make up the ceiling. I hated this part. I'm afraid of heights and was sweating bullets.
17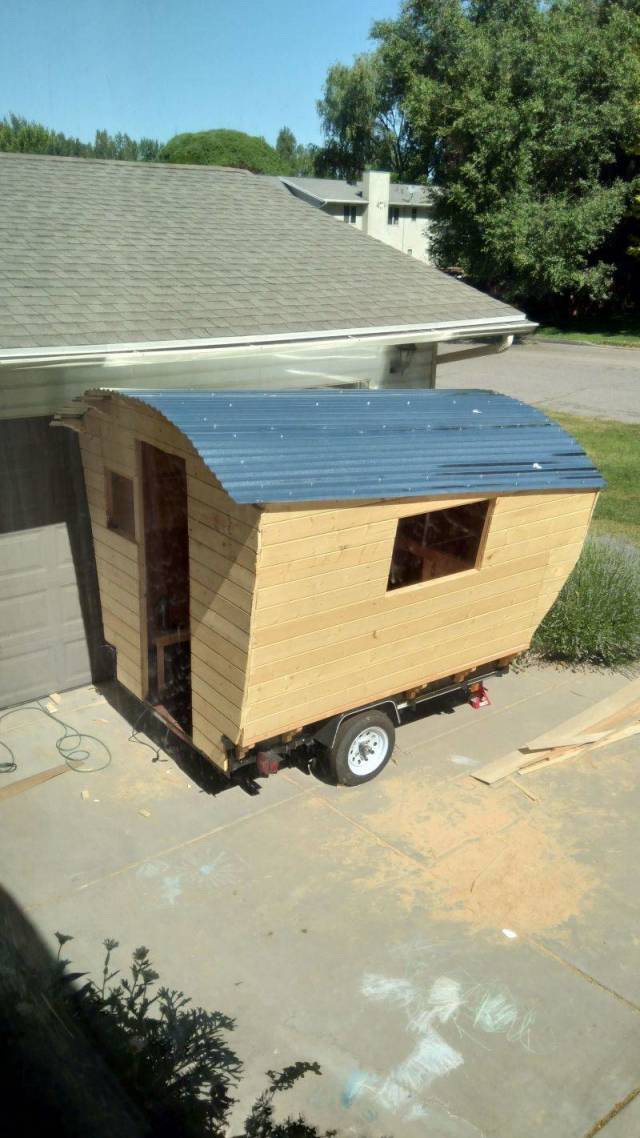
Next came corrugated tin roof. Attached with neoprene washer roofing screws. This was so so frustrating. Kept missing the beams. If I were smart I would have marked a line on the roof rather than eyeballing it.
18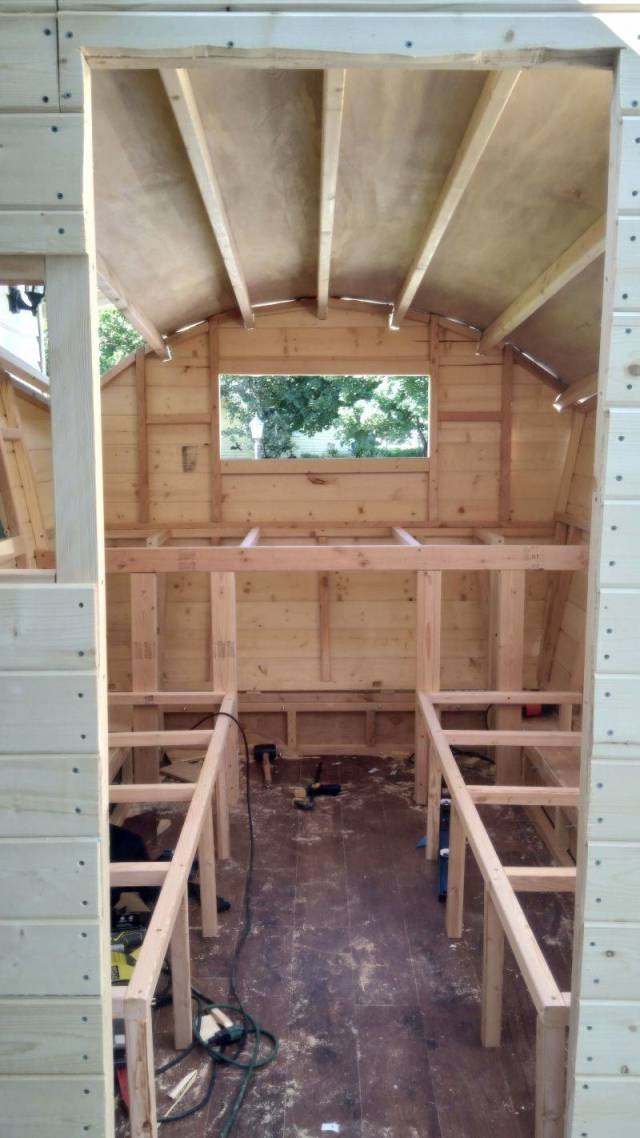
Built out the structure for the pull out bed and benches. Helps to add strength to the walls.
19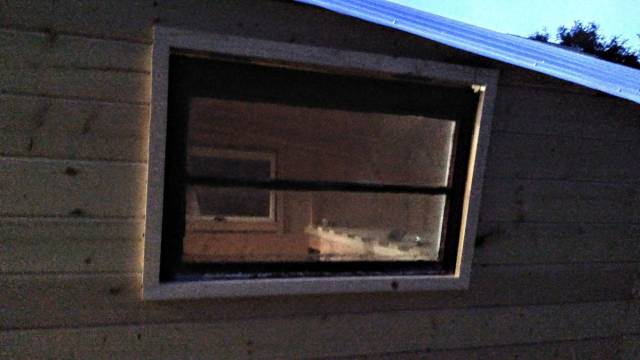
Bought some antique windows at restore.
20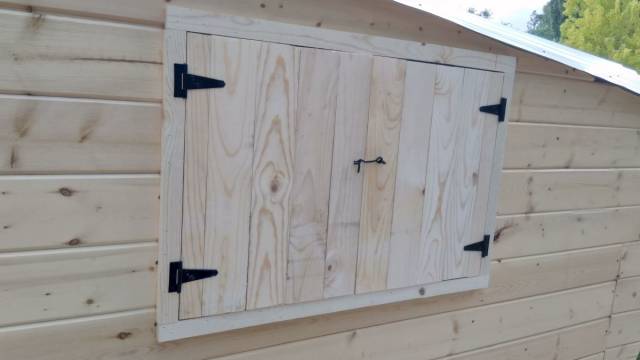
Shutters! Used 1×4 boards for this. Hardware is pretty expensive. After some trial and error decided to latch it with hook and eyes.
21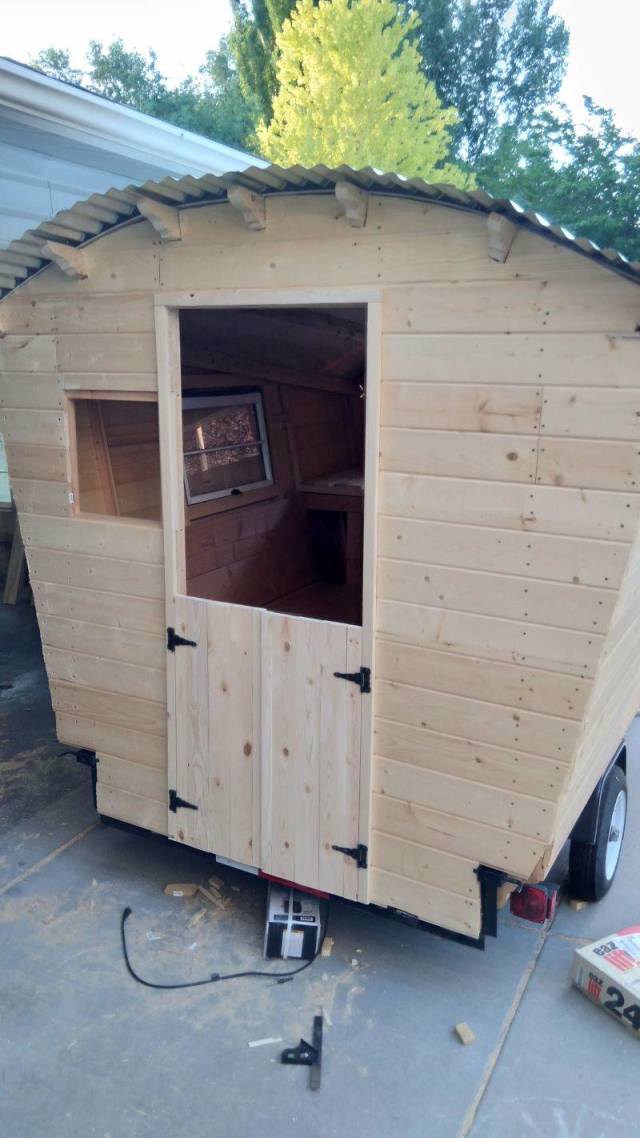
Wanted a Dutch door for rustic charm and functionality. The top half with have to wait for the stained glass too be made.
22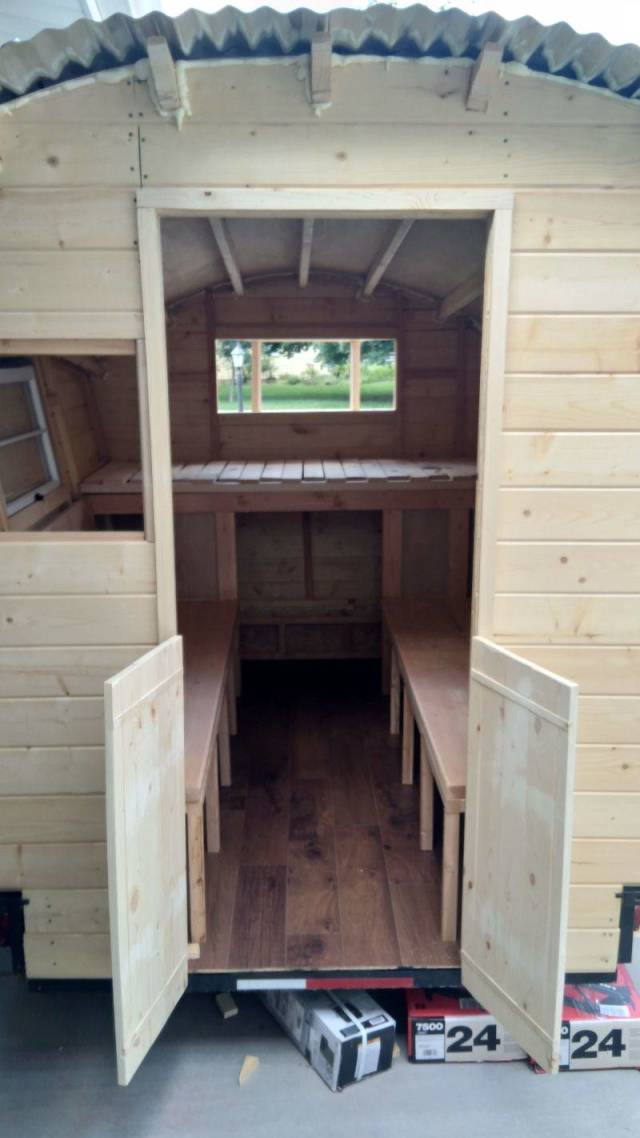 23
23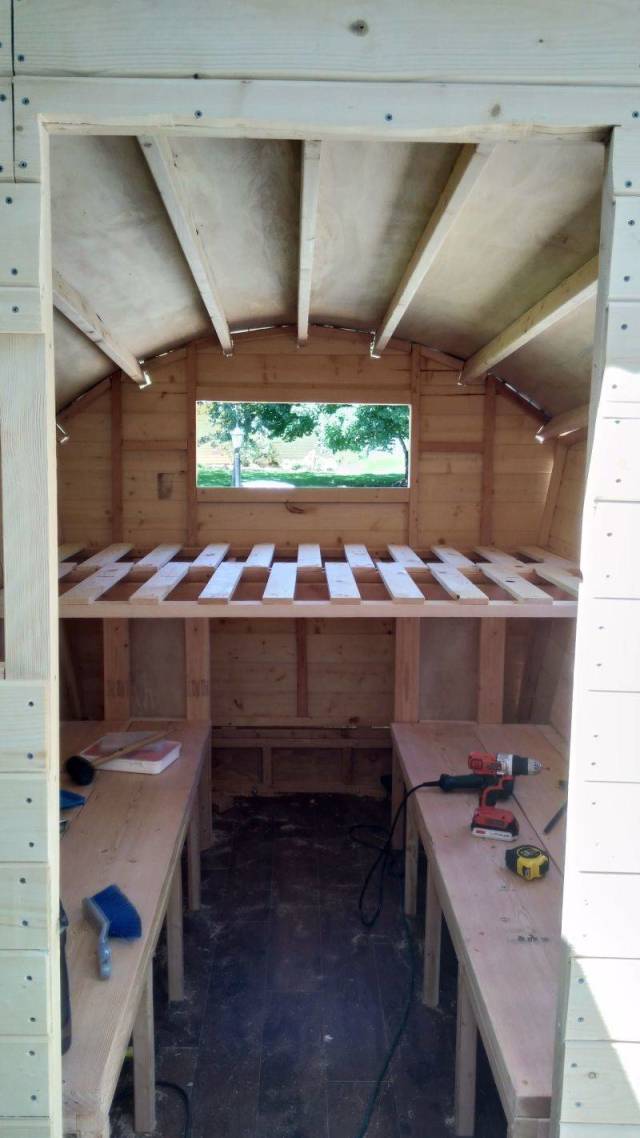
Built out the benches and the pull out bed. The plan is for my husband and I to sleep in an almost queen size pull out bed and the kids to sleep in the benches and the floor. Rock paper scissors for who has to sleep on the floor.
24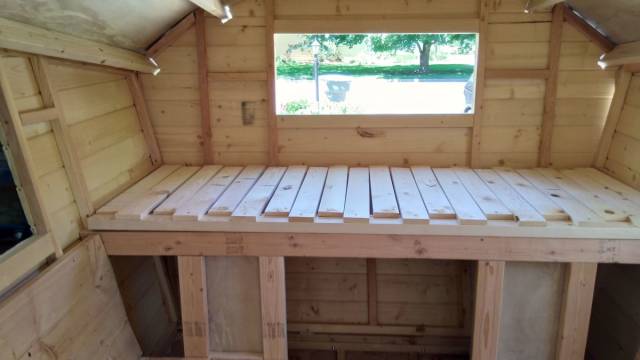
When it's pushed back it makes a nice little loft that the kids like to play on. Storage underneath.
25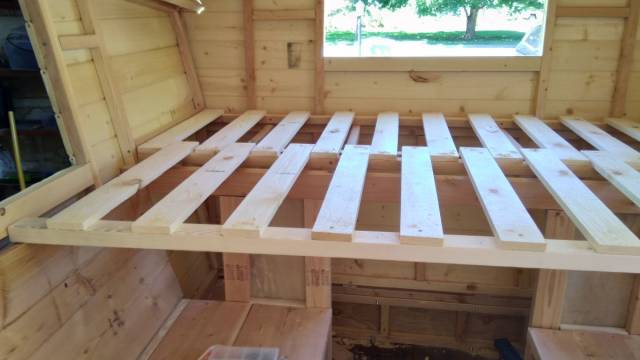
The bed rests on the backs of the benches. Surprisingly sturdy. High five.
26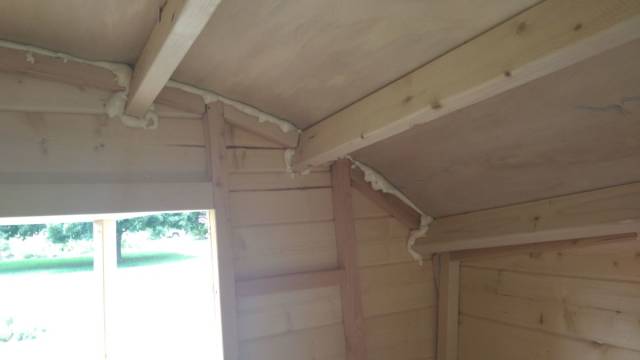
I used expanding foam to try and make the seams bug tight. Messy.
27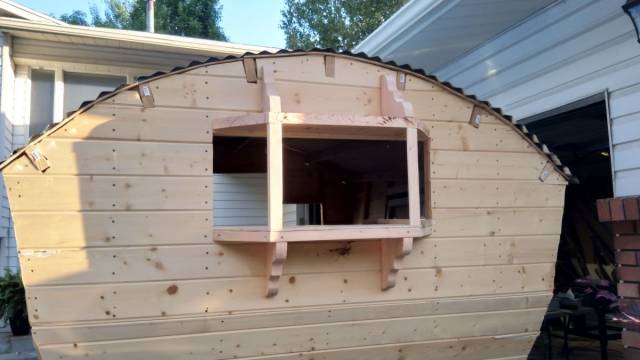
Bay window in the back. Originally planned on getting a roof on top but I thought that these brackets would be easier. Yeah easier, but decided it looked stupid.
28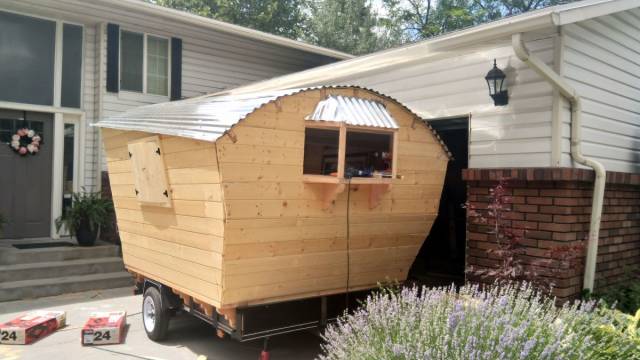
Took off the top brackets and built a little frame for the roof and attached the tin. A freaking pain but I think it looks better.
29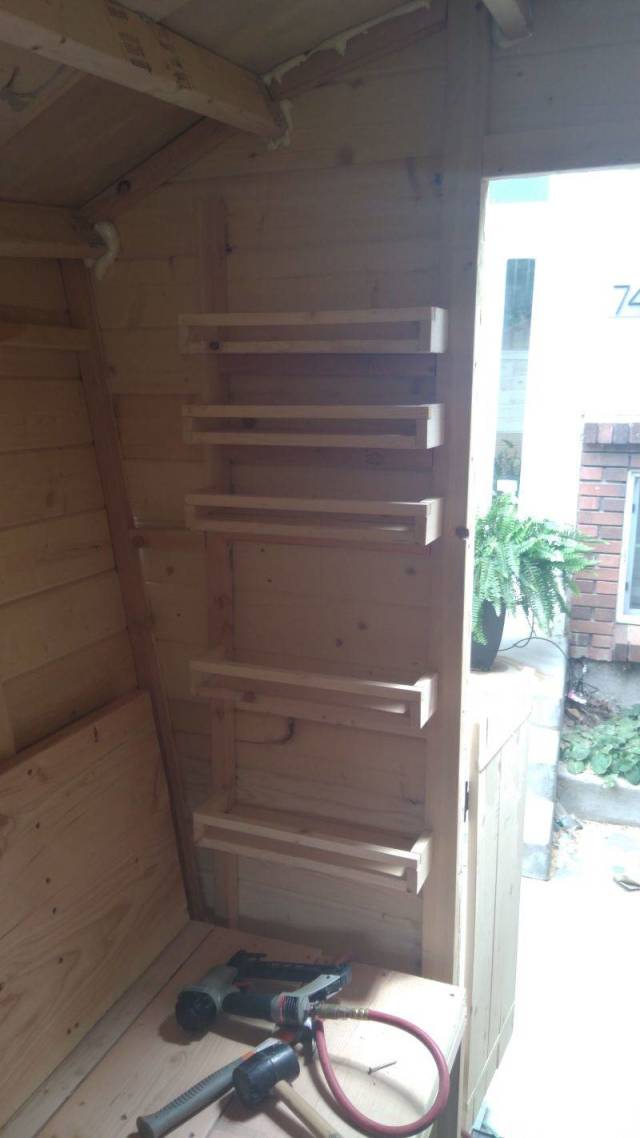
Shelves for our stuff. 1×4 boards rested on the framing and then built out. I really don't know the right words to use for any of this guys.
30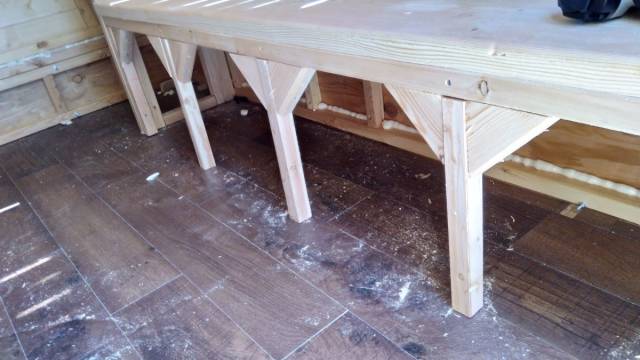
Added decorative triangle supports to the bottom of the benches.
31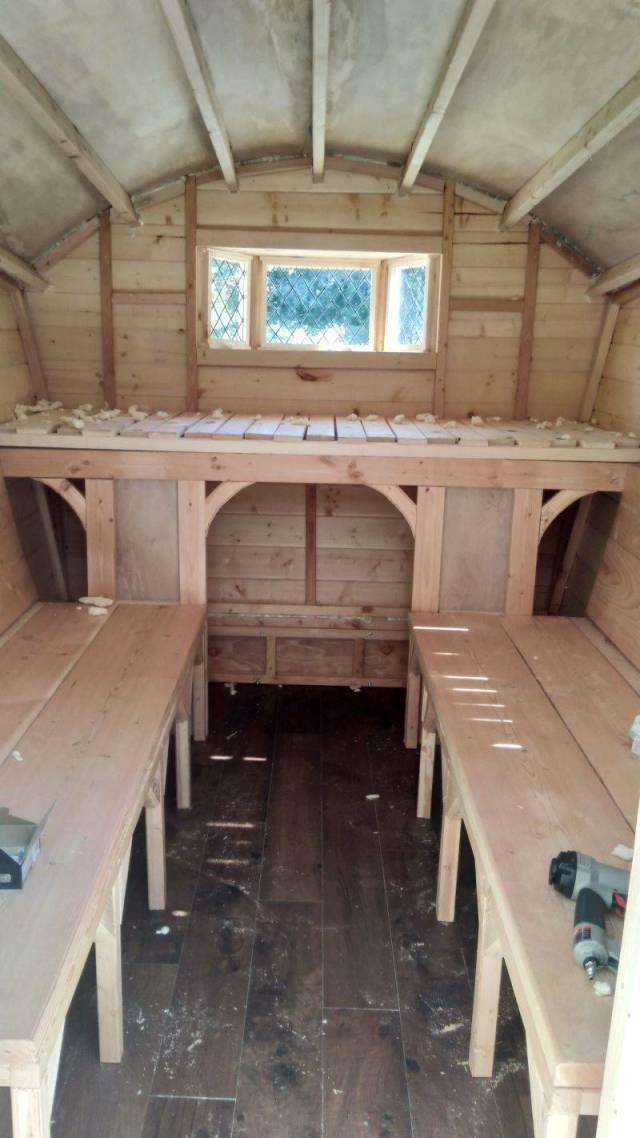
Decided to leave the sides of the storage area open because my kids like to sit down there and peek out. Added the decorative supports to make it looked finished.
32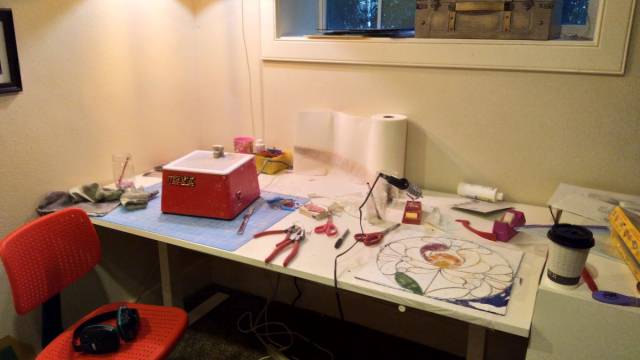
Now on to the stained glass! I was new to this and bought all the supplies at hobby lobby. The grinder and supplies were about $200 and each glass sheet around $8. Not cheap.
33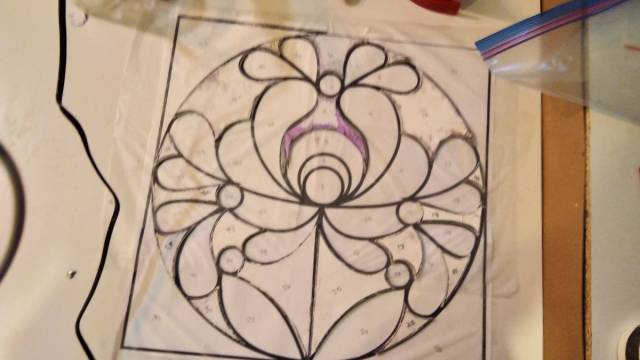
I sketched this design out in my journal, took a picture and finalized it in illustrator. Printed two copies and cut up one of the copies as the pattern, the other as the puzzle background to lay all the pieces together.
34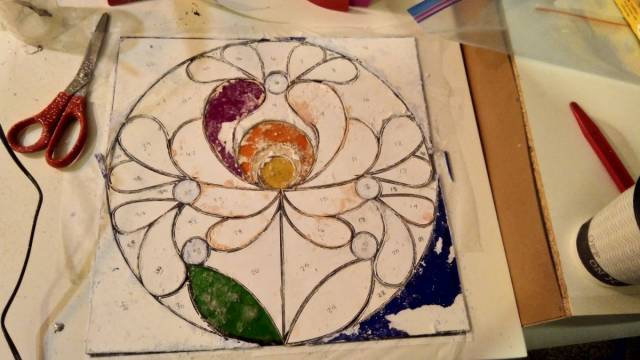
Turns out glass doesn't like to break into curved/round lines. I designed like the worst possible design for a first time beginner. Go figure. But I'm tenacious damn it.
35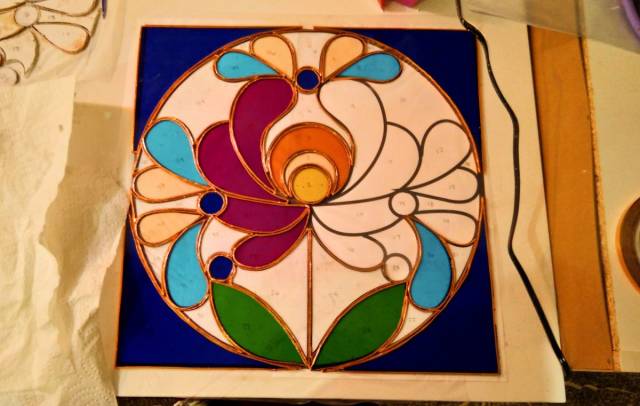
Clean off and wrap each piece in copper foil.
36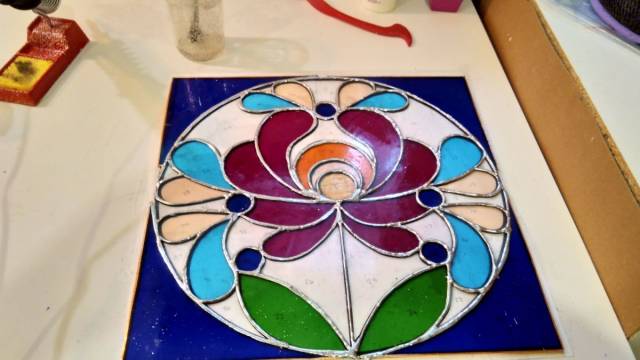
Apply flux and solder (sauter?) The heck out of it. This part was really fun.
37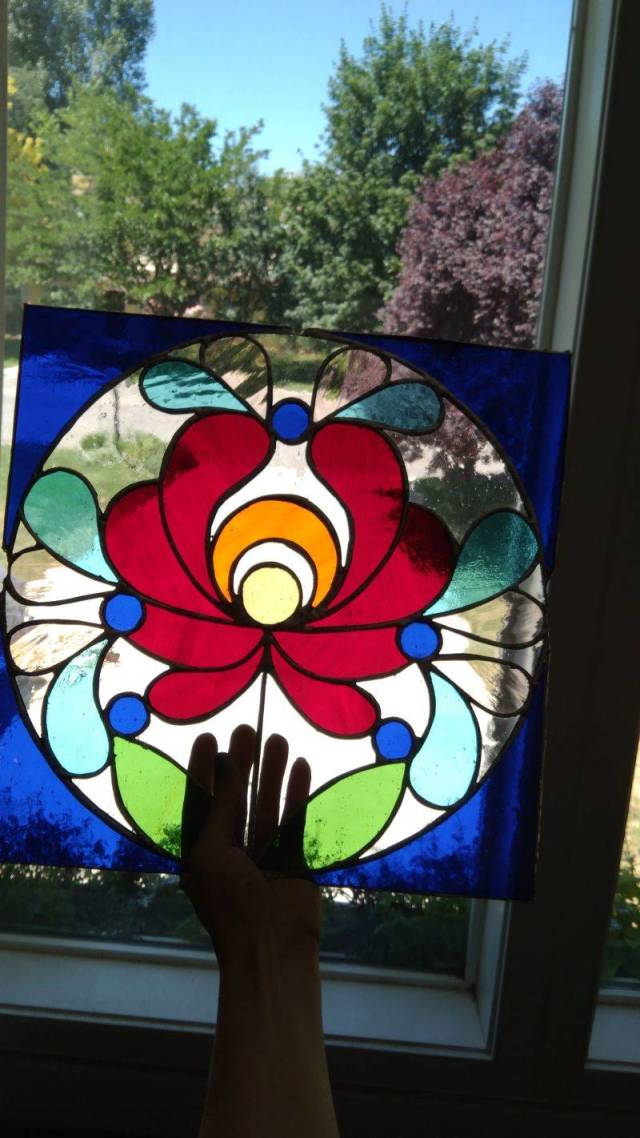
Yay! So so happy with the final product and the way the light shines through.
38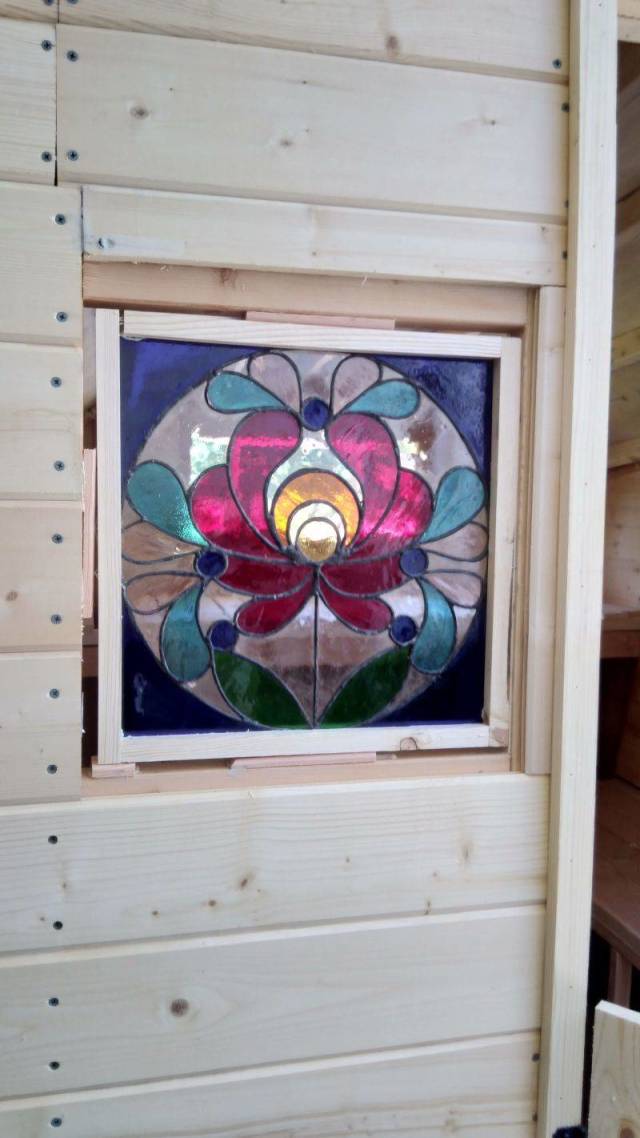
Used a router to cut grooves in wood to make a frame.
39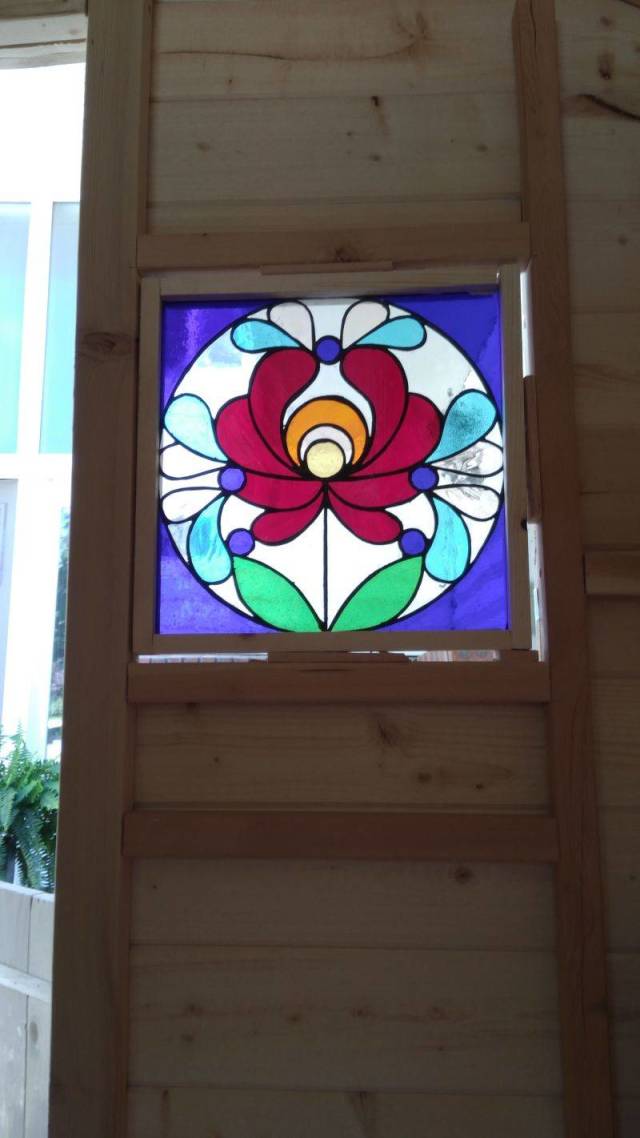 40
40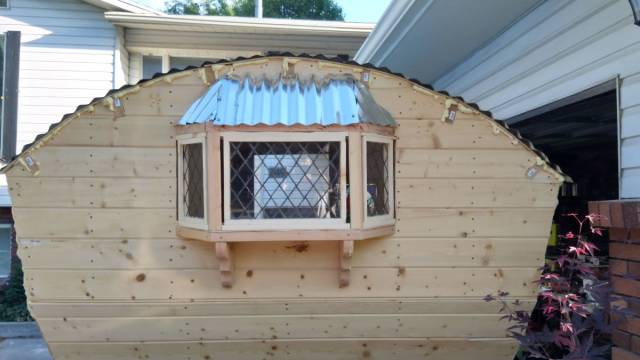
I ended up buying old frames at our local consignment shop and used the glass to make these lattice windows. So. Much. Cheaper.
41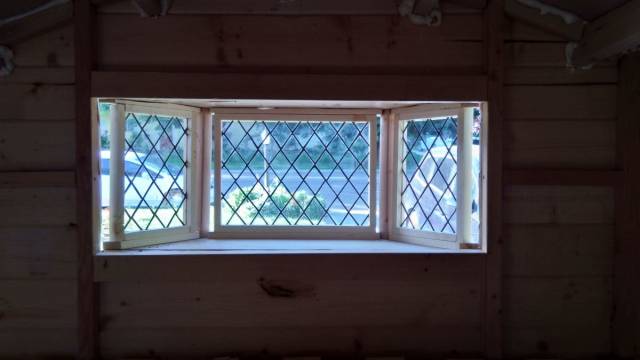
I'm seriously in love with how these look. So charming.
42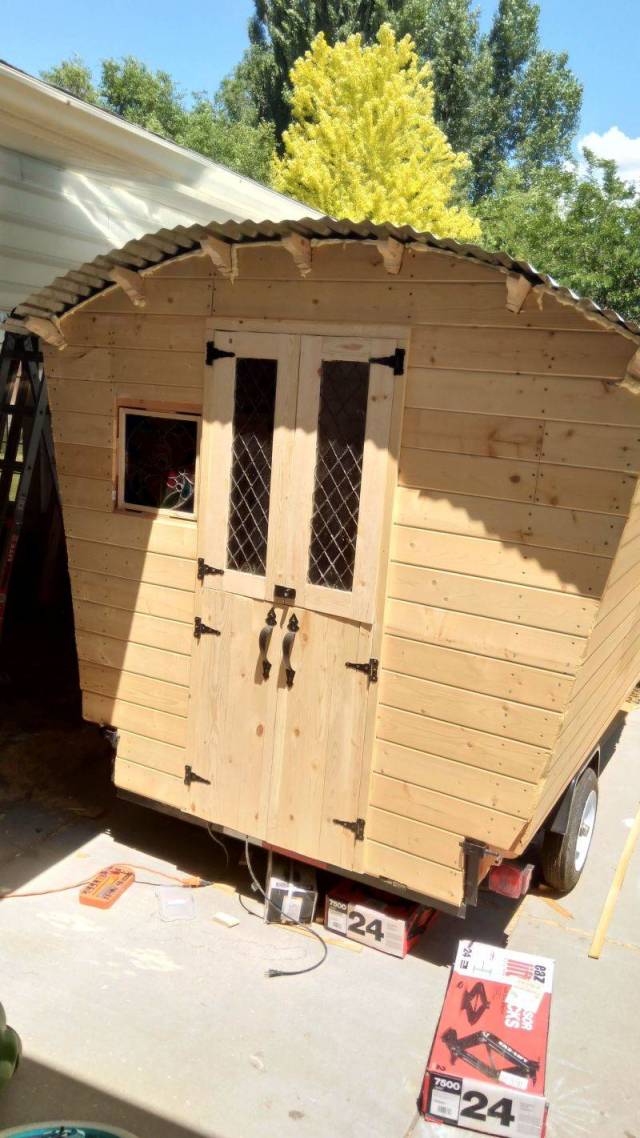
With the glass done I could finally finish the door.
43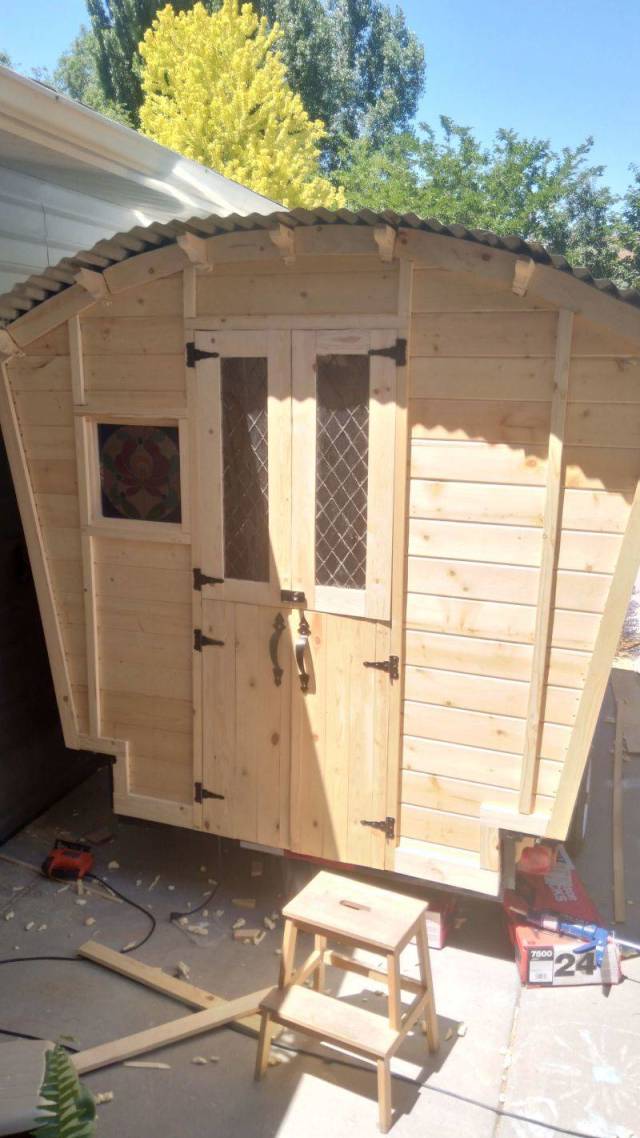
Next came the trim. I used a combination of 1×2 and 1×4 boards attached with a trial nail gun.
44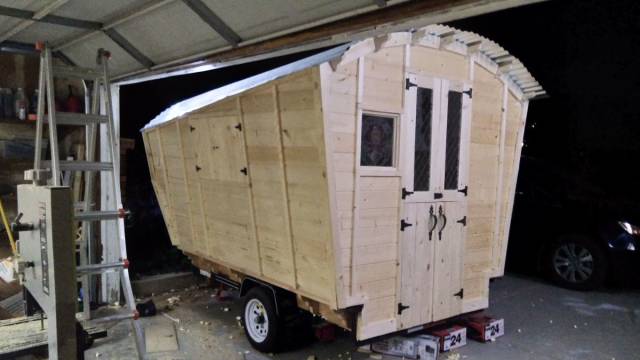
I love how the trim hides all my mistakes.
45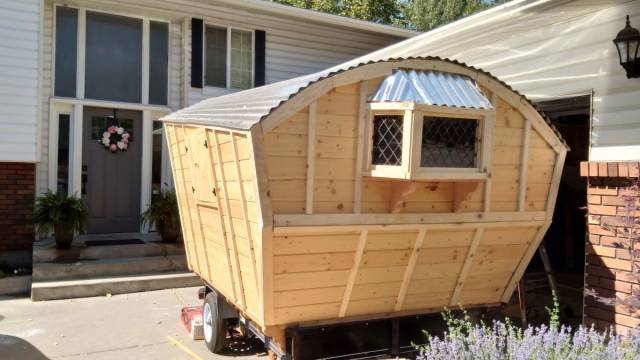
At this point my neighbors stopped thinking I was crazy and started coming over and asking to have a look inside.
46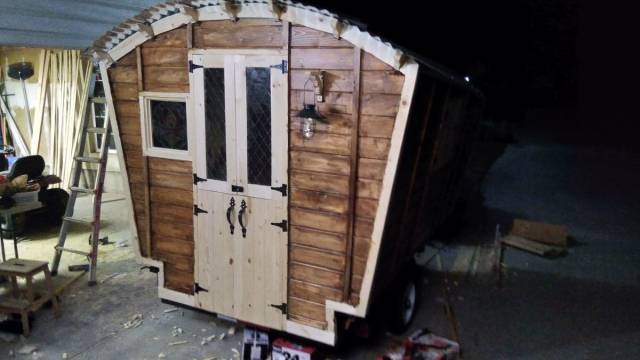
I originally bought a redwood exterior waterproof stain and it was horribly orange. So I went over it with a brown exterior stain I had to go for a rustic look. Loved the way it turned out.
47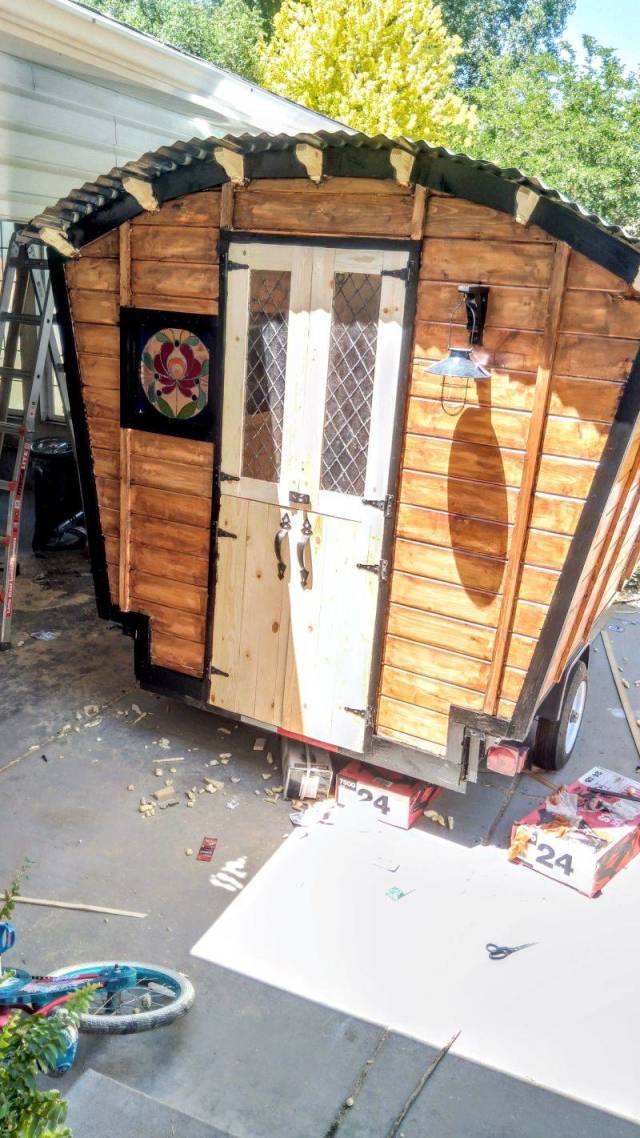
Painted all the trim black with an exterior oil based paint.
48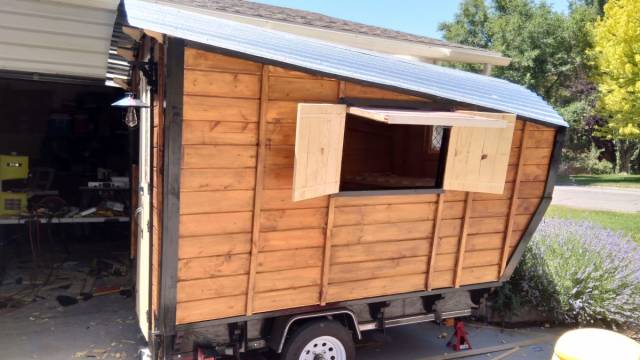
Oh God how I hate painting.
49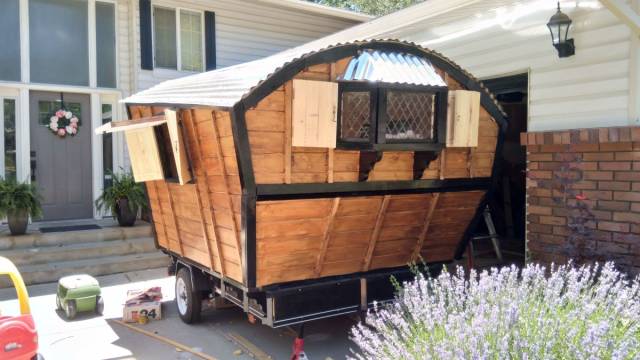
At this point my husband said it looks like a pirate ship. He's not wrong.
50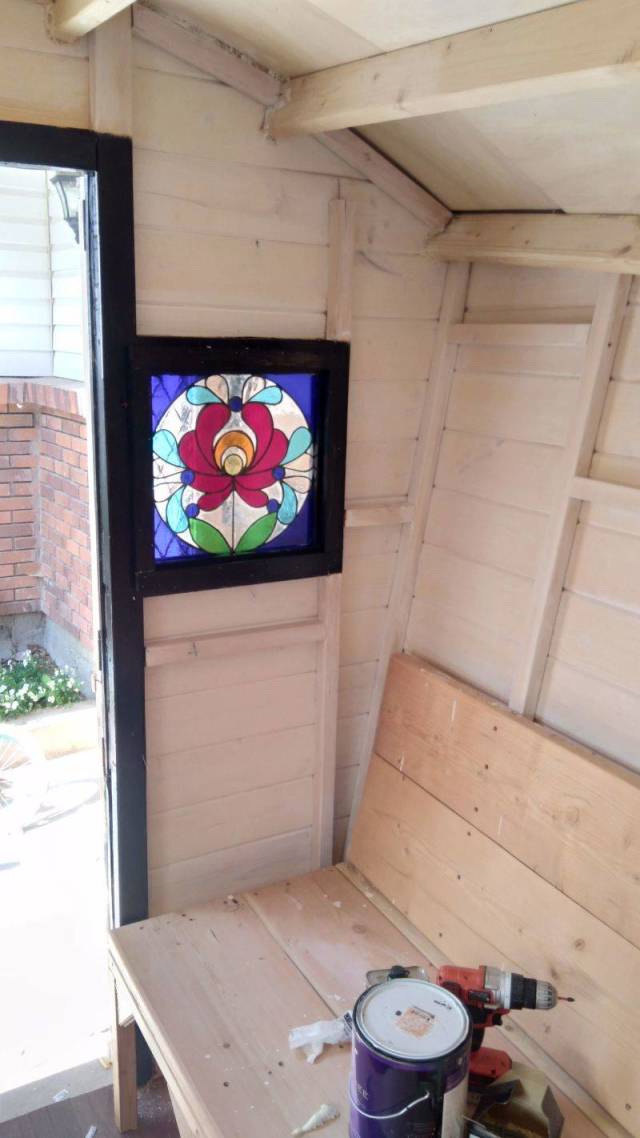 51
51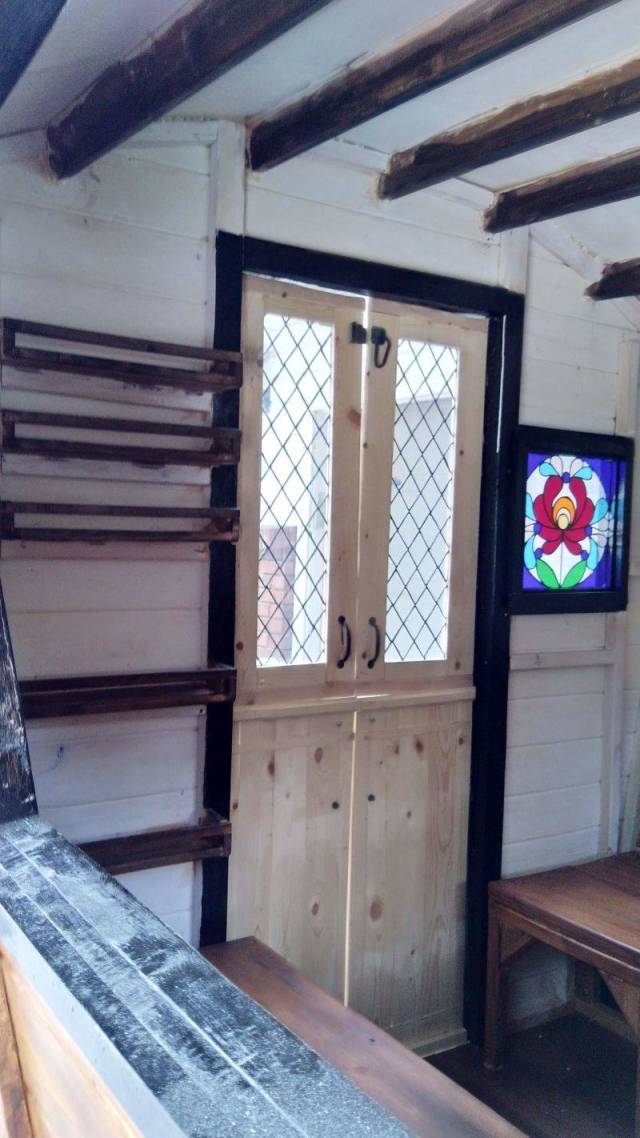
White washed the interior walls and used a combination of stains to get the look I was going for.
52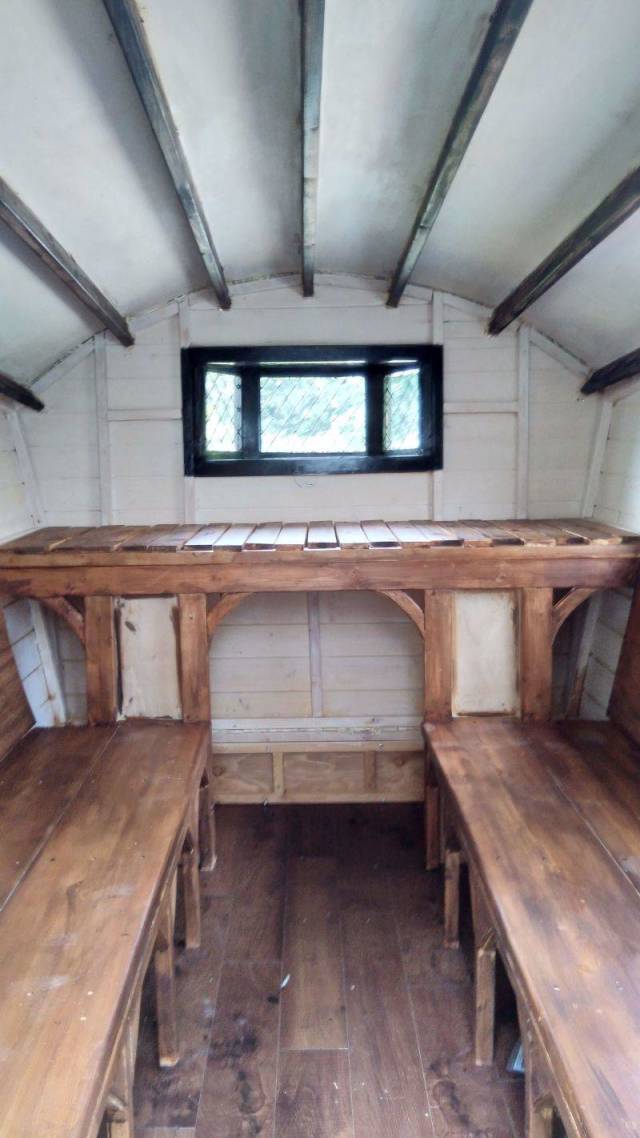
View toward the back. Have I mentioned how much I hate painting?
53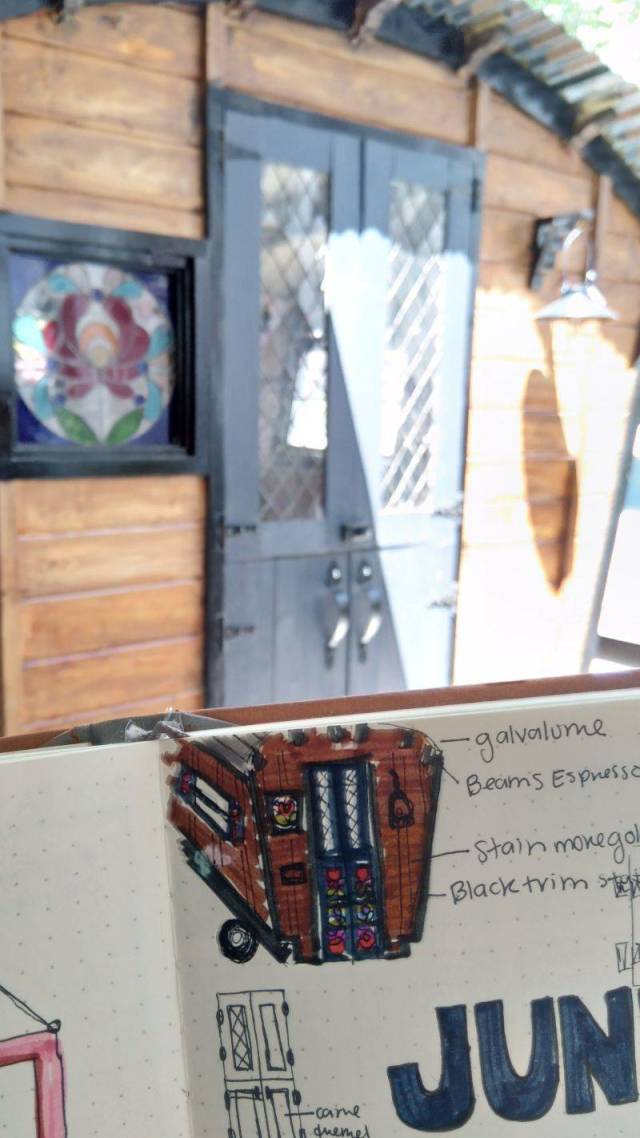
Painted the doors and shutters blue. It's so satisfying to see your ideas materialize.
54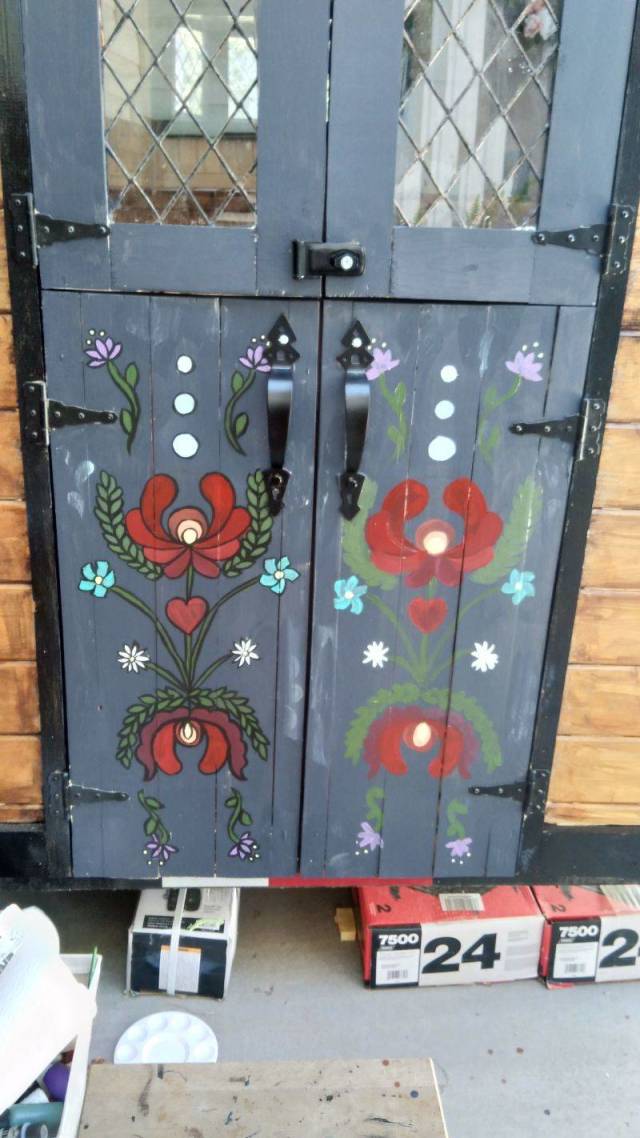
Used acrylics to add decorative pattern inspired by a Nordic tattoo found online.
55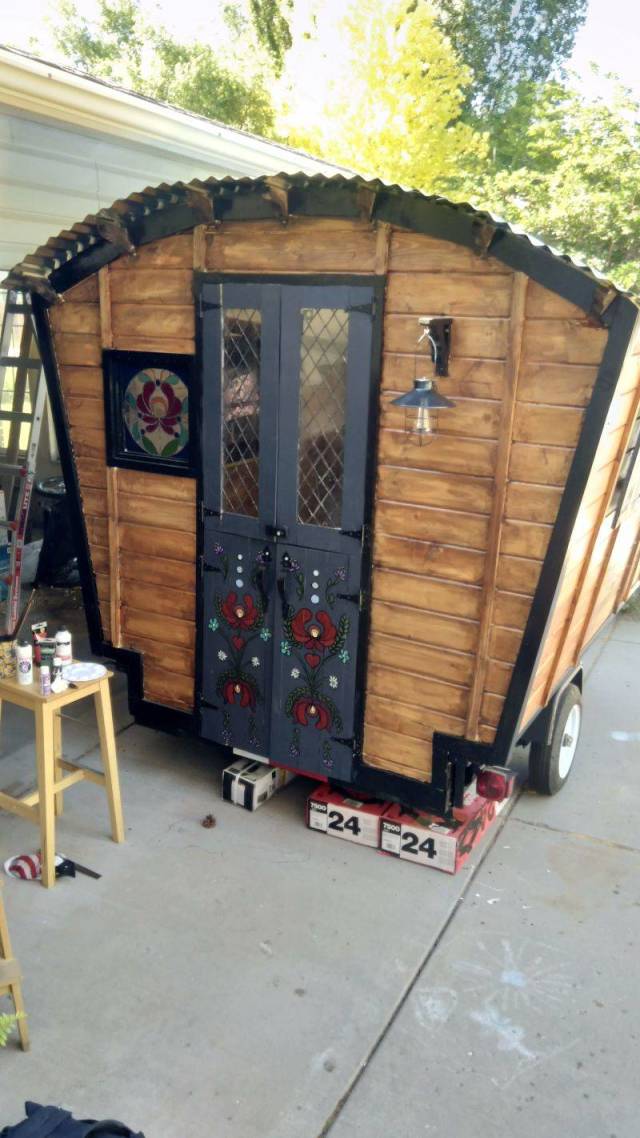
So thrilled at this point. Can see the light at the end of the tunnel
56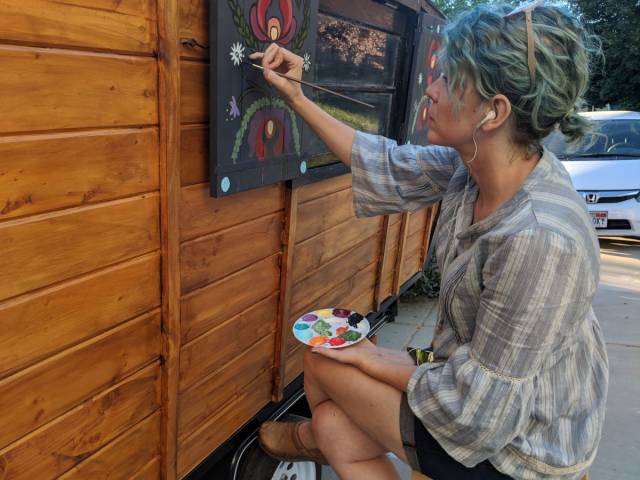
This painting was tedious, but also fun. Added a medium to the acrylic to make it go on smooth for the black outline.
57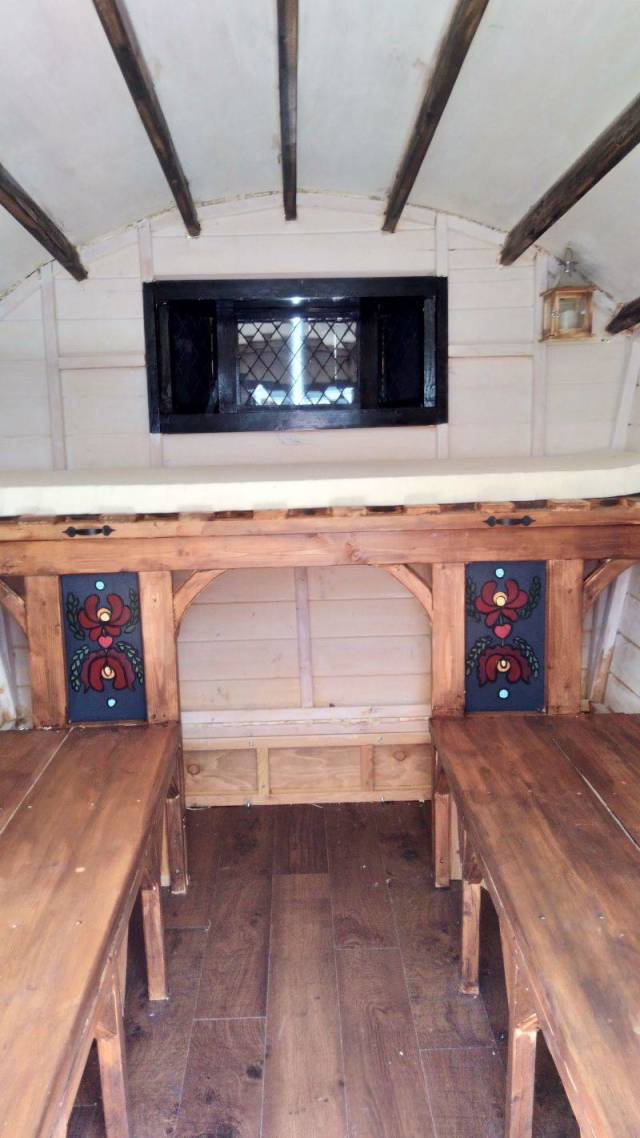
Echoed the pattern inside.
58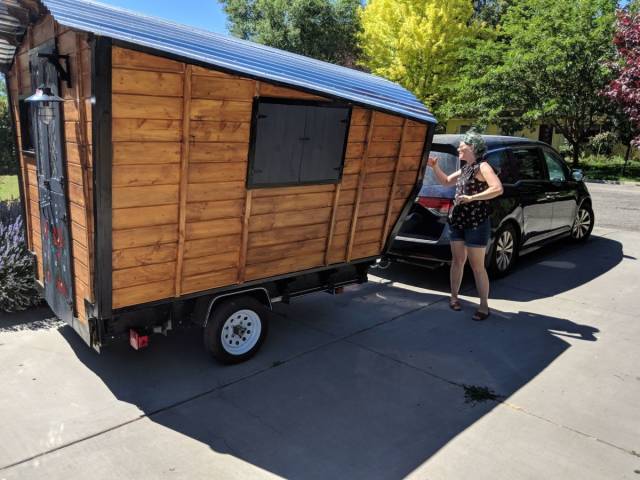
Time for a test drive to my mom's house in the other side of town. I was so nervous and excited.
59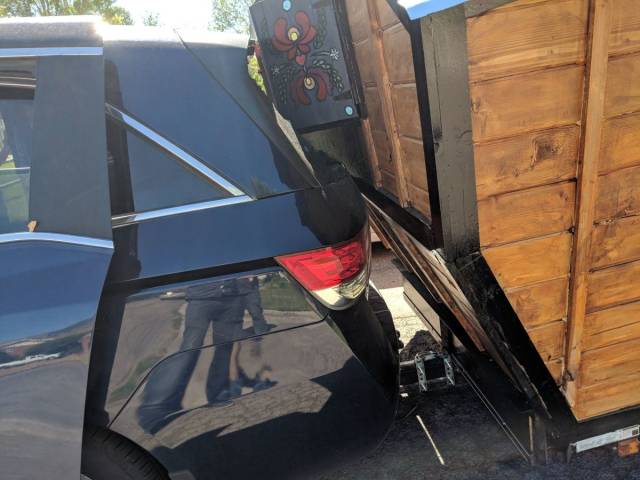
So. Um. This is embarrassing. We've never towed trailers before, and we didn't attach the latch to the hitch ball correctly. We got around the corner from our house, the trailer went over a bump and right thought the back window. God damn it. A couple hundred later and the window was fixed, but man. So defeating after all that work. We definitely learned how to double and triple check that it's actually latched correctly. Really a relatively painless way to learn a good lesson that could have been so so so much worse.
60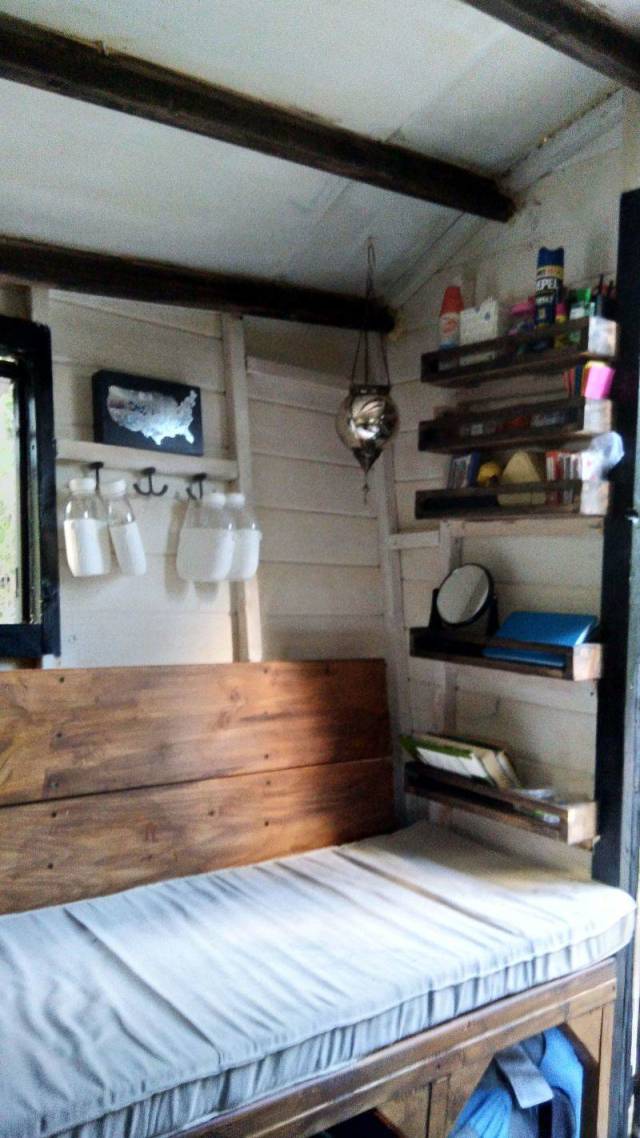
First camping trip! Covered memory foam pads for sleeping and sitting. Decorative lamps and all our stuff packed in.
61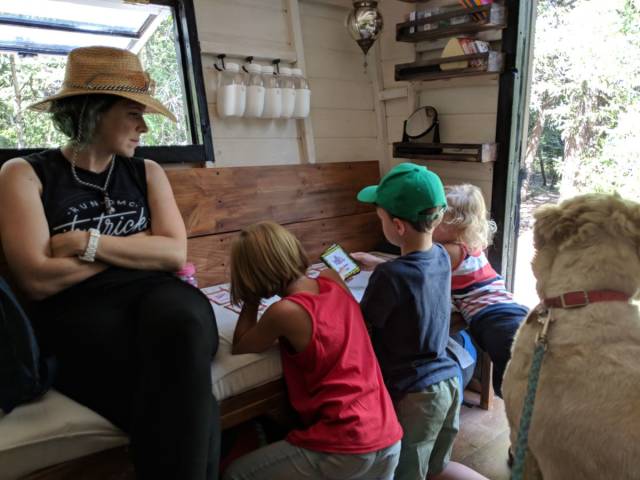
Family enjoying the wagon.
62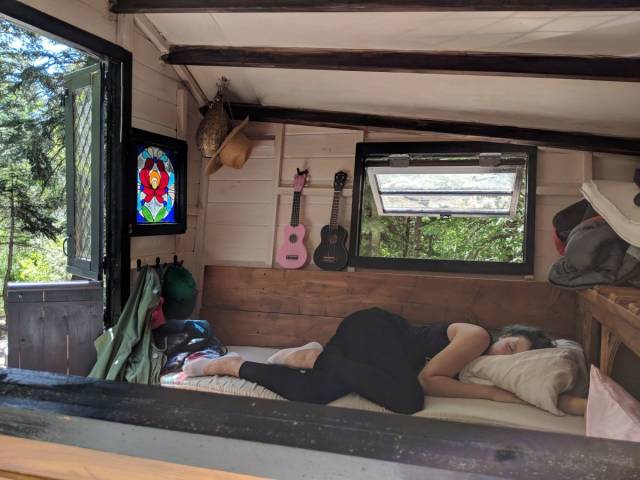
Coziest nap ever.
63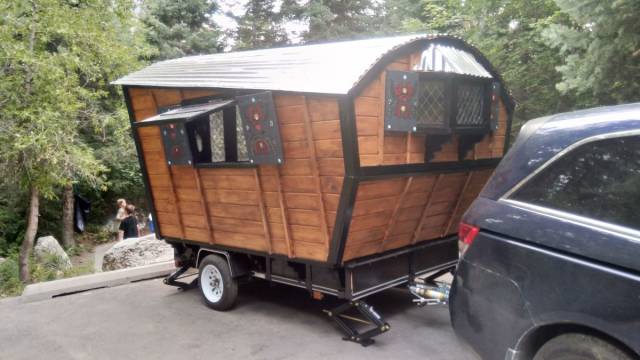
There you have it! My diy Gypsy wagon.
64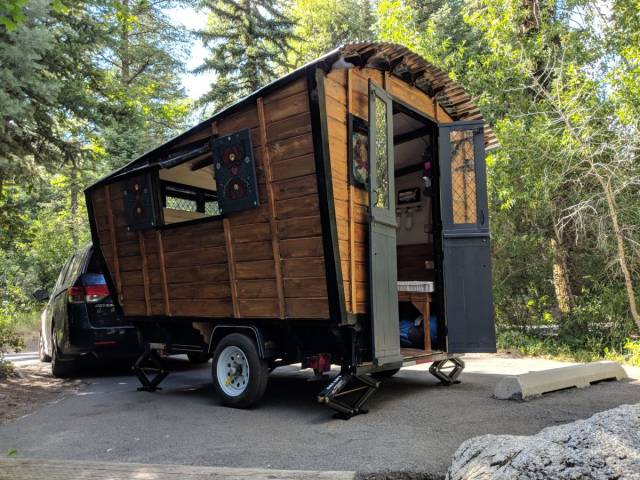
Credits: imgur.com
| facebook0 twitter0 pinterest 0 |
Tags: diy, gypsy, wagon, cool, awesome
from HD Wallpapers 4 u https://ift.tt/2LP1qKr
https://ift.tt/2OcZTzo https://ift.tt/2jqlqpT


